Learn by shop workflow

Guides and tutorials for running Posnic POS

Start with the real product screens, then move into billing, inventory, reports, backup, hardware and business-specific workflows. The learning path stays tied to the free local edition and public source.

Need the complete buyer model first? Review what a full POS system must prove before using any tutorial as rollout evidence.

Learn at the counterUse each guide with the real workflow and hardware it needs to support.

Learning paths

Start where the shop gets stuck

Each path connects a common operating question to a product screen, a guide, or a public evidence file. Screenshots are product evidence, not a promise that every shop device or process has passed.

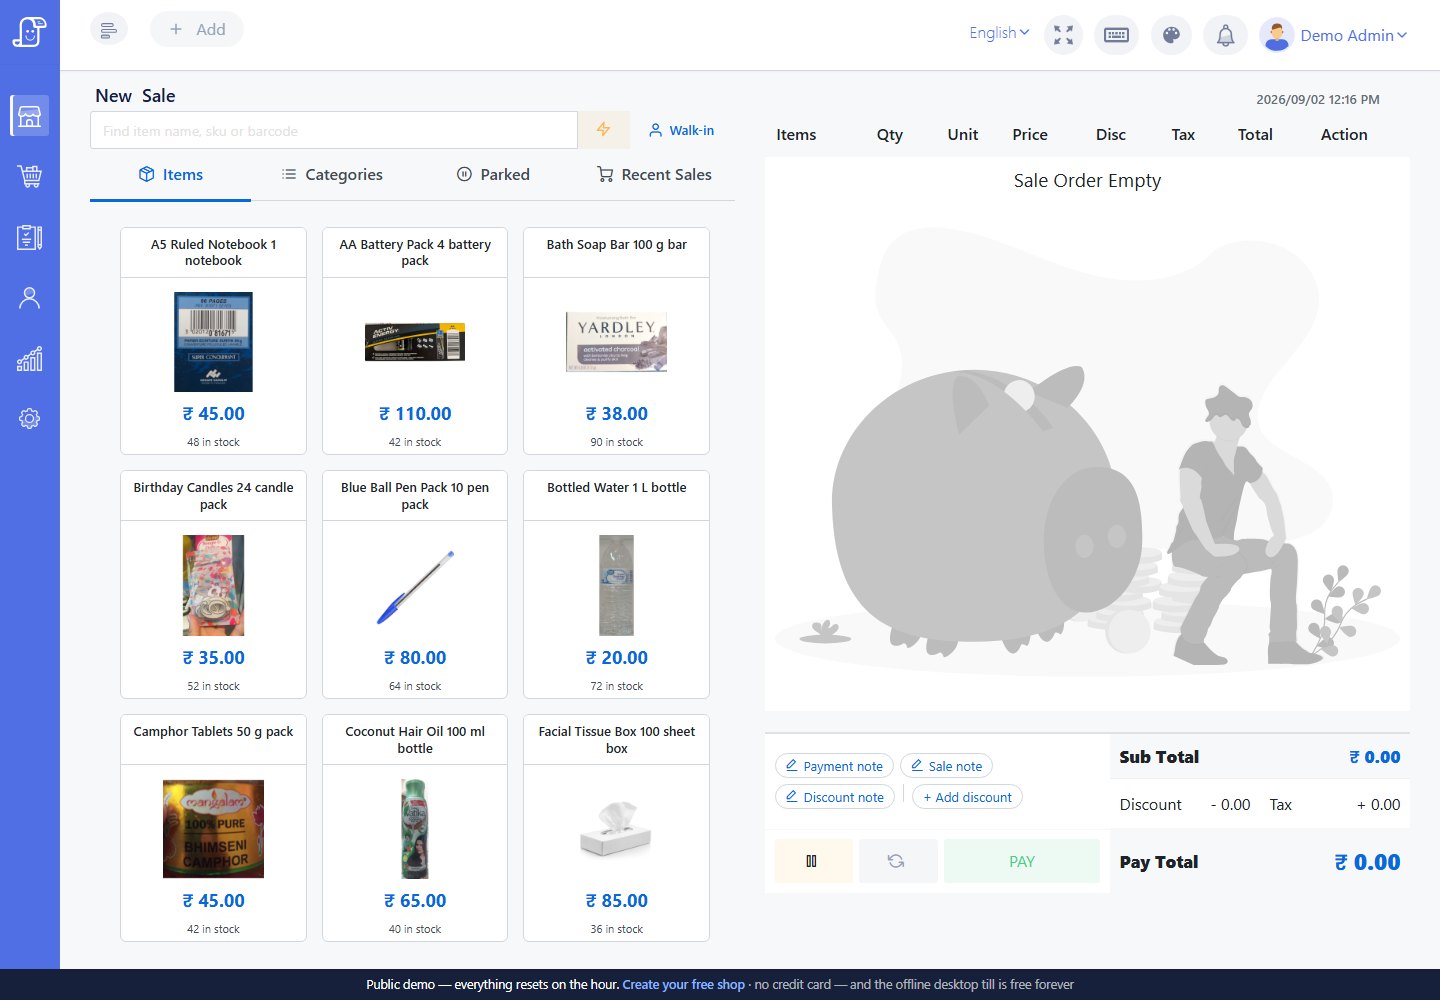
Posnic New Sale screen used in the operator manual

Operator manual

Learn Posnic from real current screens

Use dedicated pages for Add Sale, Quick Sale, item import, SKU and barcode labels, customers, suppliers, purchases, payment modes, receipt Auto Print, staff roles, reports, stock control, day close, backup and troubleshooting.
Open the operator manual

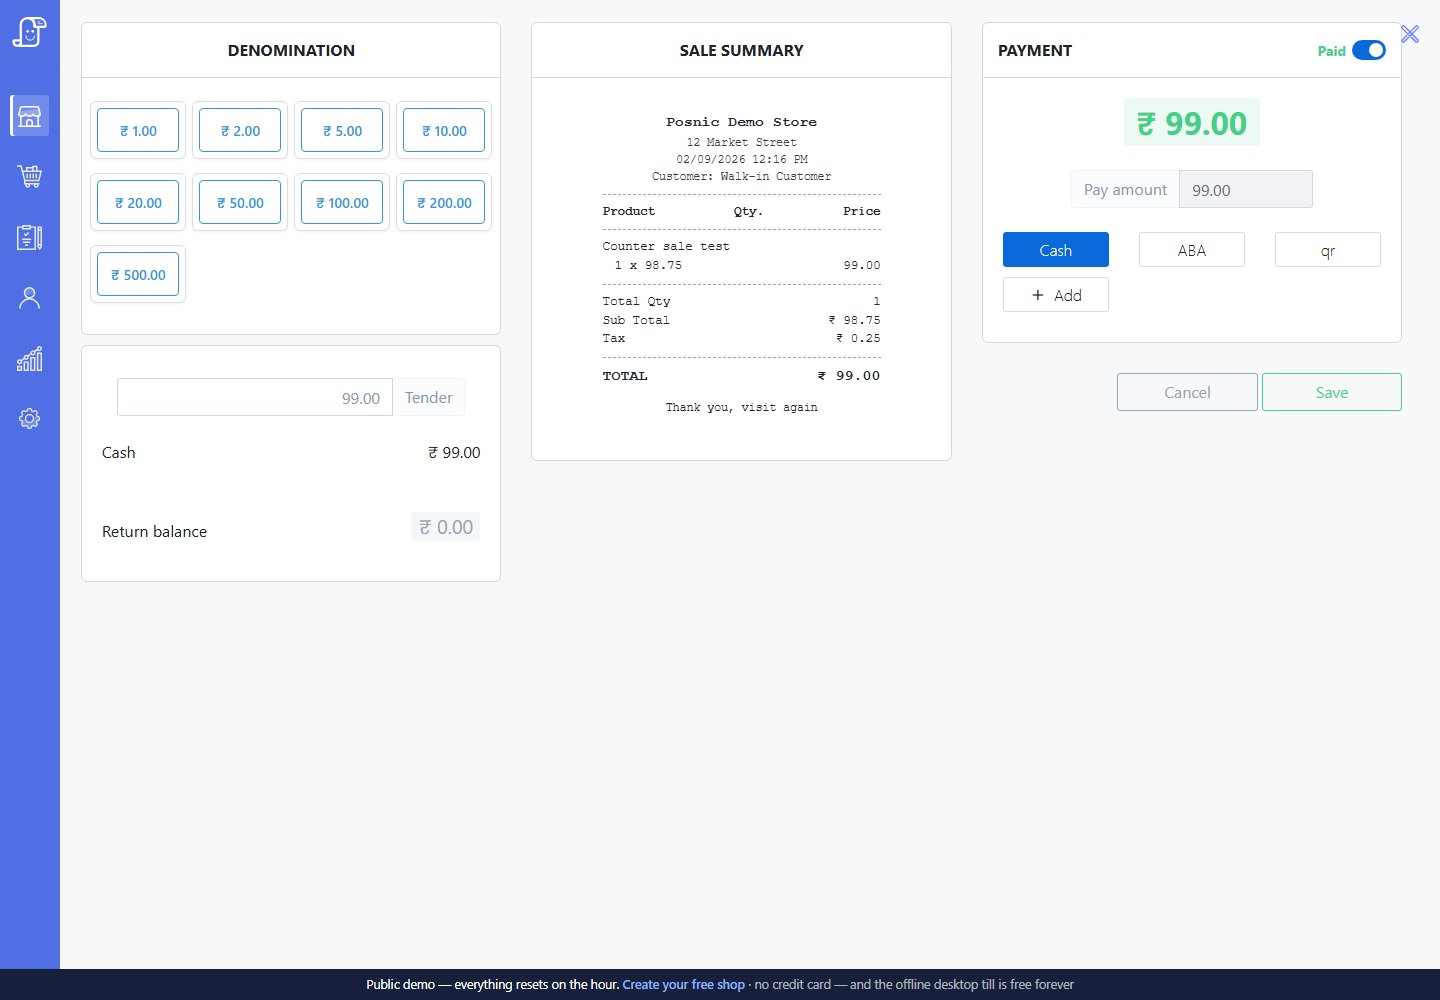
Posnic cash payment screen ready to complete a guided sale workflow

Billing counter

Record a sale, then prove the totals

Use the sale demo owner, checkout screenshot and acceptance log to understand what a completed counter sale should leave behind.

Open sale demo evidence

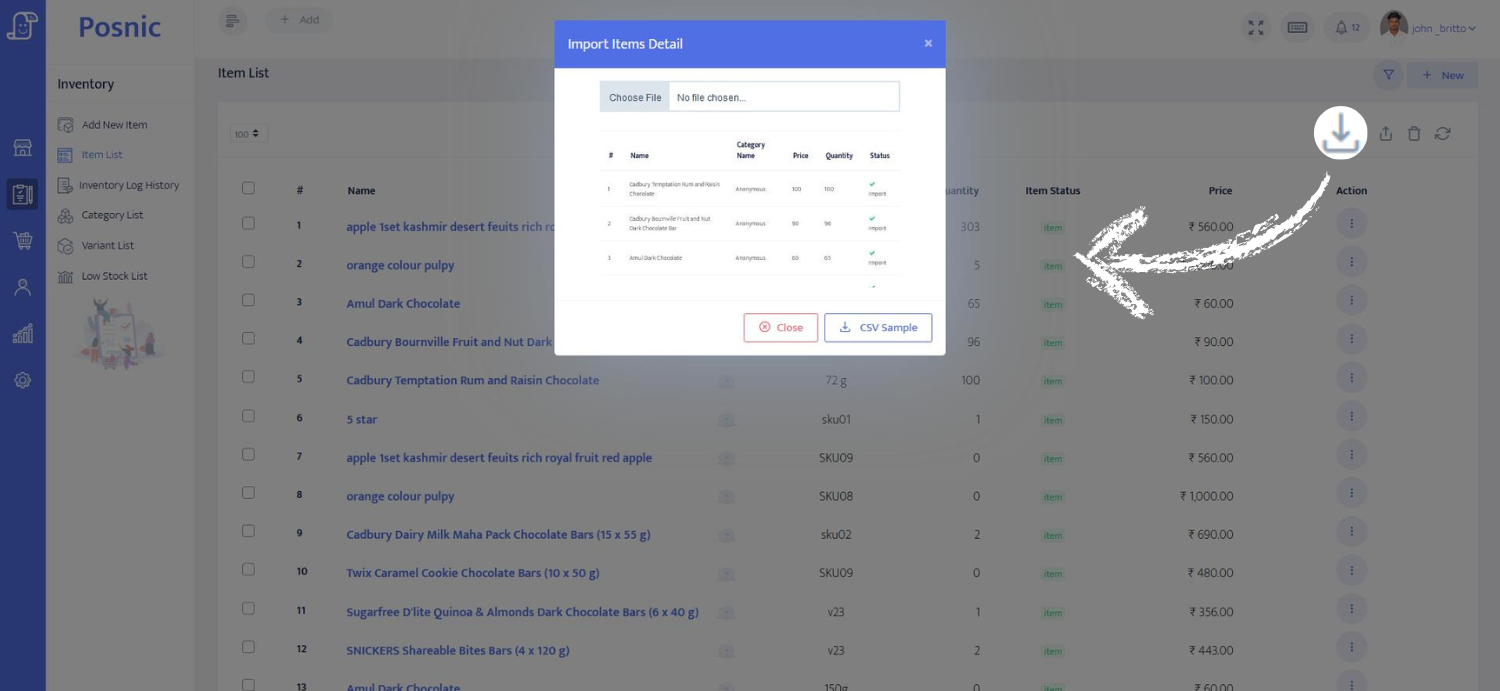
Posnic product import screen for Excel or CSV files

Catalog setup

Bring products from Excel or CSV

Prepare item names, tax, price and stock fields before import so the first sale is not slowed down by catalog cleanup.

Read the import guide

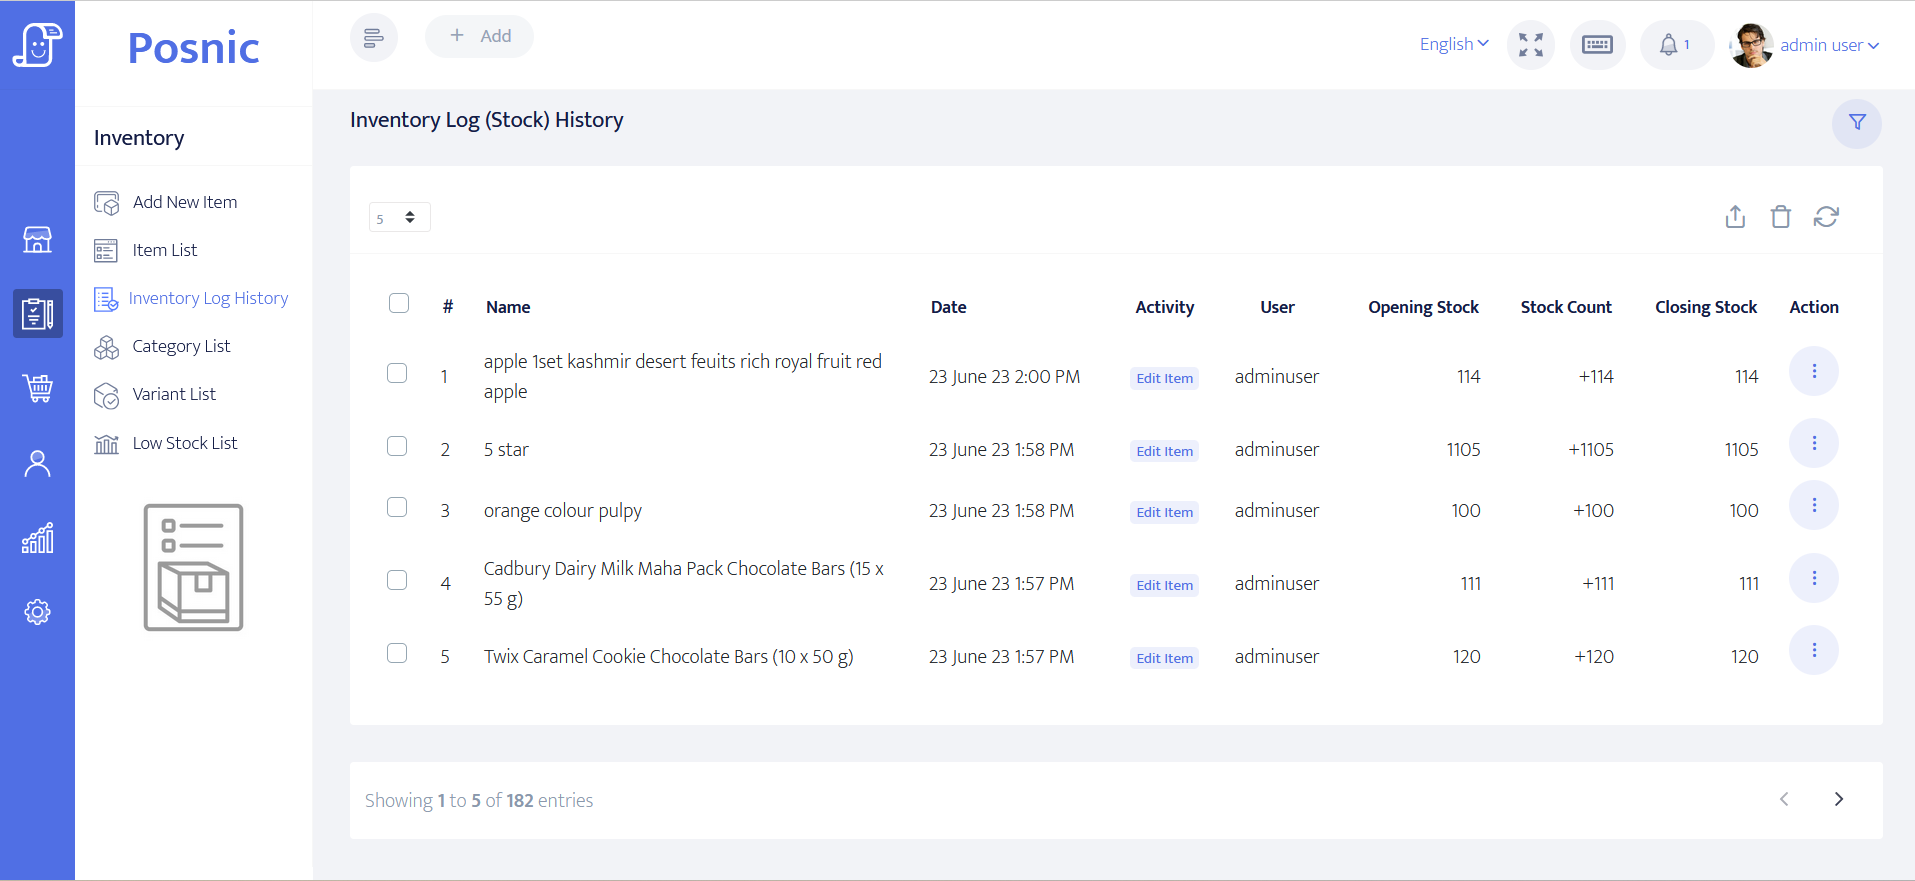
Posnic inventory movement log showing stock history

Stock and reports

Trace why quantity and money changed

Inventory, purchase and report screens help owners review movement history before daily close and accounting hand-off.

Inspect product screens